Deploying Python Flask application on Azure web app


In this tutorial, we'll walk through the process of deploying a simple Flask framework web application to Azure App Service. This project is a great starting point for those who want to explore cloud-based web hosting with Microsoft Azure.
Prerequisites:
Python Installed: Make sure you have Python installed on your machine. You can download it from python.org.
Azure CLI Installed: Install the Azure CLI by following the instructions here.
Note - This project is done in vs code with WSL terminal.
Step 1: Setting Up the Flask Web App
# Create a project folder
mkdir webAppProject
cd webAppProject

# Create a virtual environment
python -m venv venv
source venv/bin/activate

# Install Flask and newsapi-python
pip install Flask
pip install newsapi-python
Create a file named app.py in the webAppProject folder and home.html in the templates folder. You can use the code from Flask NEWS Application Using Newsapi - GeeksforGeeks.
You will also need to create requirements.txt to install the necessary packages.
Flask
newsapi-python
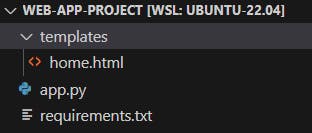
The directory structure should look like below,
Now validate whether the application is running locally or not.
sneha@ahens000:~/web-app-project$ python3 app.py
 * Serving Flask app 'app'
 * Debug mode: off
WARNING: This is a development server. Do not use it in a production deployment. Use a production WSGI server instead.
 * Running on http://127.0.0.1:5000
Press CTRL+C to quit
Step 2: Initializing Git and Creating Azure Resources
# Initialize a Git repository
git init

# Create a .gitignore file
curl -o .gitignore https://raw.githubusercontent.com/github/gitignore/main/Python.gitignore

# Add and commit files
git add .
git commit -m "Initial commit"
# Log in to your Azure account
az login --use-device-code

# Create a resource group
az group create --name SimpleAzureProject --location <your-preferred-location>

# Create an App Service Plan
az appservice plan create --name SimpleAzurePlan --resource-group SimpleAzureProject --sku B1 --is-linux

# Create a Web App
az webapp create --name SimpleAzureApp --resource-group SimpleAzureProject --plan SimpleAzurePlan --runtime "PYTHON|3.8" --deployment-local-git
After creating the web app try to log in to the domain from the overview blade. It will show you the default Python web page.
Step 3: Deploying the Flask App to Azure
# Configure Azure Git remote
az webapp deployment source config-local-git --name SimpleAzureApp --resource-group SimpleAzureProject
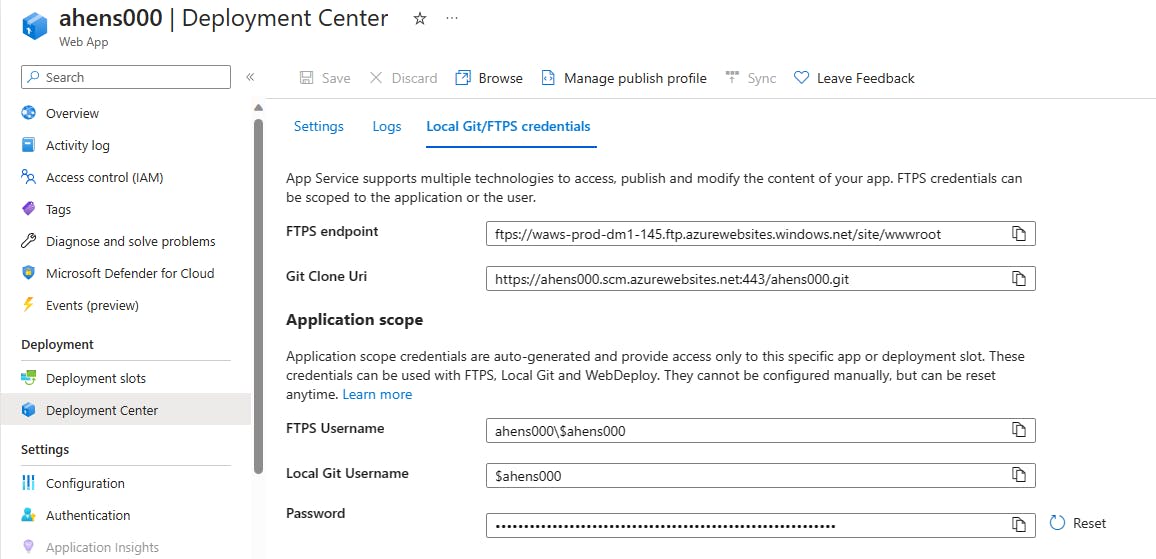
Get the Azure Git remote URL from the Azure portal. Go to the web app -> deployment center -> Settings -> Local Git.

# Add Azure Git remote and push code
git remote add azure <your-azure-git-repo-url>
git push azure master
Note: When you push changes to Azure, you will be prompted to username and password. You will get these credentials from the application scope in the web app's deployment center.
Now you again reload the domain URL to confirm the changes.

Note: You can also check the logs from the deployment center to confirm the git commits.
Tried out the project yet? Drop your thoughts and experiences in the comments!